How to Fix Cracked Tile Without Removing It
Updated date:
How to Replace Cracked or Damaged Floor Tile
Bert spent 25 years working as a home-improvement and residential construction contractor in central Florida.
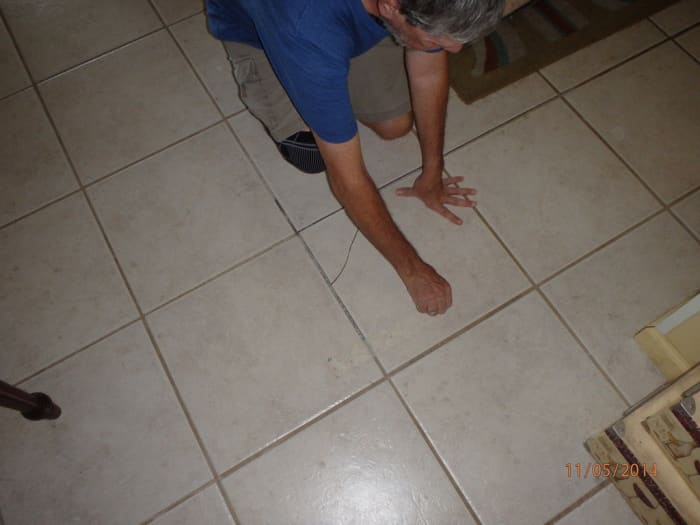
Cracked tile floor? Here's what we did!
https://www.flickr.com/photos/osseous/
The eyes of a home inspector or prospective buyer often gravitate right to cracks in the floors and walls. A long crack across several tiles indicates a settlement crack in a subfloor. Faulty installation, on the other hand, often causes a single randomly broken tile out in the middle of a floor. These small eyesores add up to become bargaining chips later on.
Tile setters usually use a notch-trowel to apply a layer of thinset, a mortar-like tile adhesive, to the subfloor. The size of the notch depends on the size of the tile. Larger notches give more flexibility when working on bigger tile. The notches give the thinset space to compress as the installer levels the tile. When the thinset dries, it adheres to both the subfloor and the tile. After the mortar dries, the installers fill the gap between each set of tile with grout, a colored cement-like material.
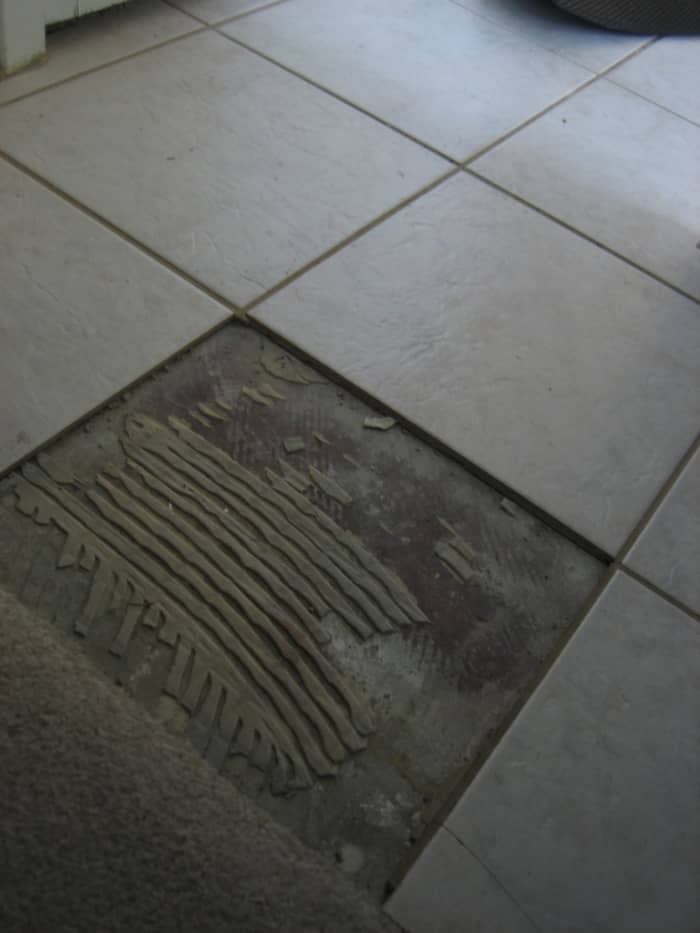
Remove all old thinset mortar before setting a new tile.
How to Remove the Damaged Tile
- Protect carpet: Sometimes the damaged tile butts up against a carpet edge. If so, cover the carpet edge with duct tape. This water-resistant type of tape protects the carpet from grout-colorant and mortar stains.
- Cut the grout: When the grout dries, it adheres to the tile's surface. Trying to remove a tile without cutting the grout often leaves the adjacent tile chipped or with its corner broke off. Run a carbide-tipped grout saw around the perimeter of the broken tile. A handheld saw works well for small jobs, such as 3 or 4 broken tile. However, professionals normally use an angle grinder equipped with a tile blade for larger jobs; holding a wet sponge against the blade helps keep the dust to a minimum.
- Break the tile: Place a chisel blade approximately 1-inch away from the corner of the tile. A handheld chisel and hammer work fine for smaller projects, but consider using an electric chipping hammer when the task exceeds a few tiles. Hold the blade at a 90-degree angle. Strike the chisel with a hammer or depress the electric chipping hammer's trigger, breaking the corner of the tile. Remove the broken corner.
- Displace tile: Wedge the chisel blade against the thinset seam, hold the chisel blade at a 45-degree angle and apply pressure. Use the hammer and chisel, or chipping hammer, to break the tile free from the subfloor.
- Remove the remaining tile in the work area: Repeat this process for each additional tile. Discard all trash and debris.
- Remove the thinset: Use a hammer and chisel, electric chipping hammer or floor scraper to dislodge all of the remaining thinset in the repair area. Small pieces of leftover thinset create high spots in the new mortar bed, preventing the new tile from sitting flush with its neighbors.
Prep the Subfloor
- Clean the repair area: Discard all of the demolition debris. A vacuum helps collect the dust in the corners and across the exposed subfloor.
- Cover slab cracks: Apply an underlayment material over the cracked section of the subfloor. This barrier reduces the effects of any future slab movement.
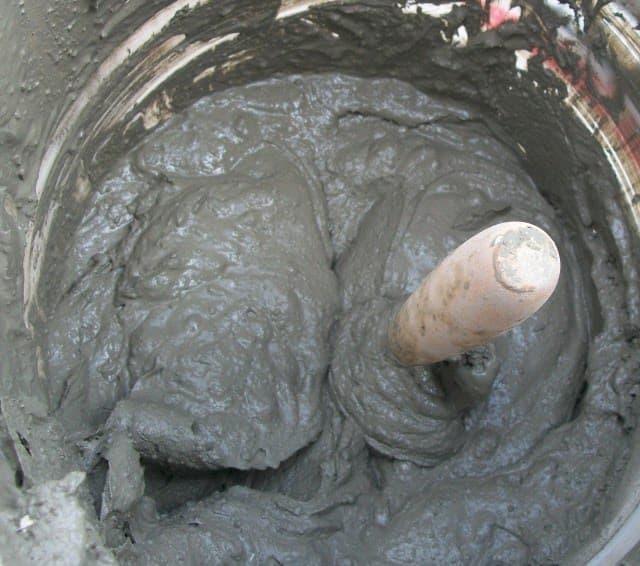
A good thinset consistence resembles toothpaste.
Read More From Dengarden
Install the New Tile
- Dampen the subfloor: Dampen a sponge and squeeze its continents onto a concrete subfloor. Do not flood the area, but apply just enough water to make the surface wet to the touch. The pours in the concrete pull in the water, which helps the thinset bond to the concrete. Simply wipe any dust from all other subfloor types with a damp sponge.
- Mix the thinset: Pour the proper amount of dry mortar powder and water into a bucket, using the manufacturer's instructions as a guide. Thoroughly mix the contents until it reaches a toothpaste-like consistency with either a margin trowel or drill motor equipped with a mixing paddle.
- Apply the thinset: Scoop a small amount of thinset out of the bucket and plop it down on the subfloor. Spread the thinset over the entire space with a notched trowel.
- Set the tile: Place the tile on the thinset. Feel the difference in height between the new tile and its neighbors. If the tile sits too low, remove the tile and add more thinset. Push down on the highest corner with the palm of a hand. Move to the next highest corner and repeat. Continue to work the tile down into the thinset until its surface matches the neighbors'. Adjust the tile's position in the hole until its edges align with the neighboring tiles' edges.
- Clean the tile: Remove any wet excess thinset from the grout joints with the corner of a margin trowel, or another thin blade tool. Remove any wet mortar from the tile's surface with a wet sponge. Let the tile dry before moving to the next step.
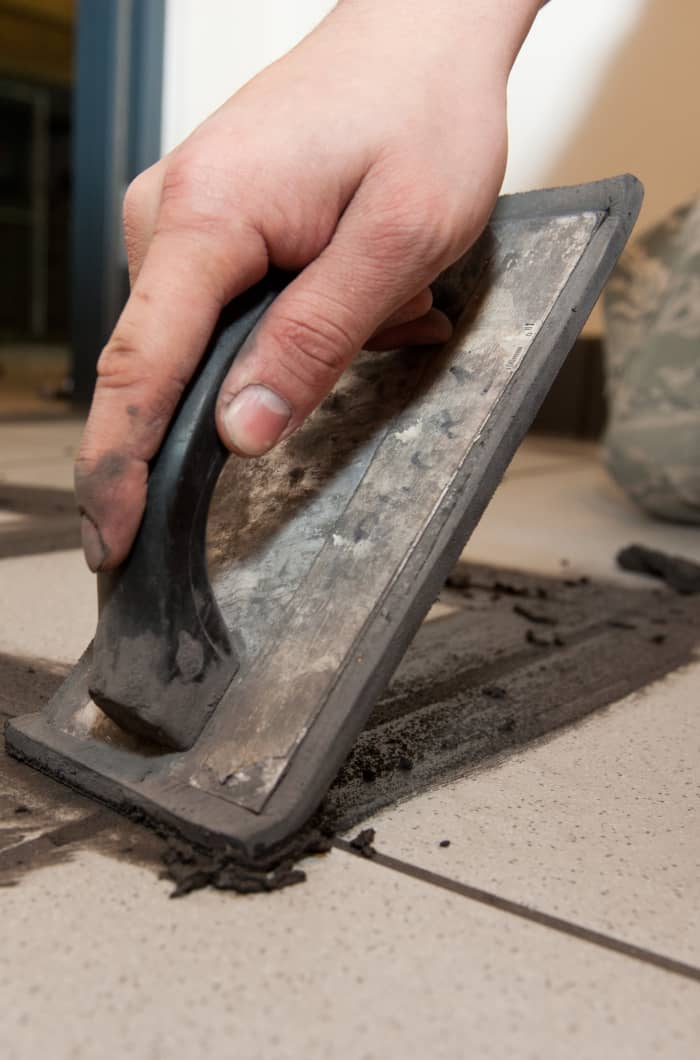
Hold the grout float at a 45-degree angle and apply downward pressure.
Apply Grout
- Clean grout joints: Remove any excess thinset mortar from the joints. A thin Flathead-screwdriver works well for this. Excessive mortar buildup often gives the finished grout a stained or dirty appearance.
- Mix grout: Pour 1 to 2 cups of grout powder per tile into a bucket. Create a bowl shape in the center of the grout powder with a margin trowel. Add a small amount of water to the bowl and mix the moisture into the powder. Continue this process until the grout can hold the margin trowel upright and it has a creamy consistency without any lumps.
- Press grout in joint: Scoop a small amount of grout from the bucket with one end of a grout float. Place the grout on a joint and press it into the joint while holding the float at a 45-degree angle. Fill the joint until the grout crests the gap. Repeat this process around the entire perimeter.
- Clean the tile: Fill a bucket halfway with water. Wet a sponge and ring it out. Gently rub the repair area with the sponge, using circular motions to feather the wet grout onto the tile's surface. Clean the sponge. Wipe the sponge across the tile's surface, using a 45-degree angle to the grout joint swipe. Clean the sponge after each pass. Remove all grout residue with the sponge.
Clean Finished Floor
Grout haze forms when evaporating water deposits small particles of grout on the tile's surface. This common problem gives the tile a rough feel and a dull look.
- Apply cleaning solution: Pour a small amount of cleaning solution onto the floor and spread it across the entire dirty area. White vinegar often works well on floors with a light haze. However, excessive deposits often require a product designed specifically as a grout haze remover.
- Remove the haze: Scrub the floor with a stiff-bristle brush. At first, the grout haze creates noticeable friction. Each brush stroke becomes easier as the brush removes the haze. Add more cleaning solution, as needed.
- Polish the floor: Clean up the dirty cleaning solution and dry the floor. Polish the tile's surface with a dry rag.
This article is accurate and true to the best of the author's knowledge. Content is for informational or entertainment purposes only and does not substitute for personal counsel or professional advice in business, financial, legal, or technical matters.
© 2018 Bert Holopaw
Related Articles
How to Fix Cracked Tile Without Removing It
Source: https://dengarden.com/home-improvement/How-to-Replace-Cracked-or-Damaged-Floor-Tile